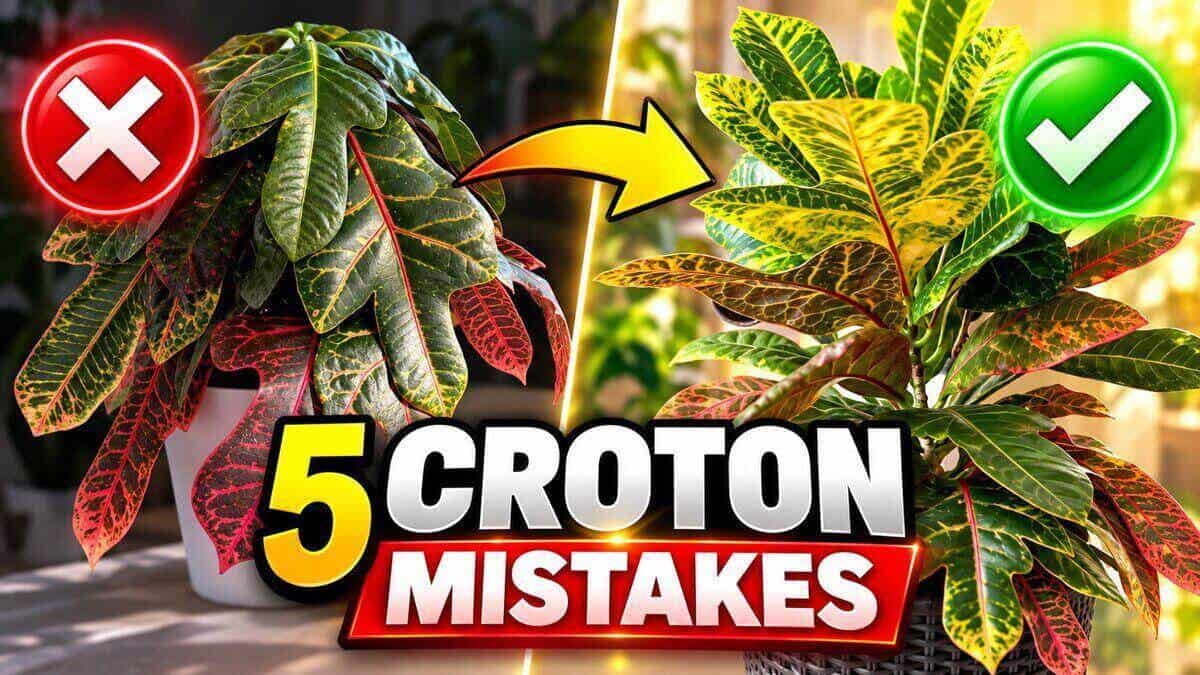
Croton Plant Care: 5 Mistakes That Kill Crotons (& How to Fix Them)
Is your Croton losing leaves, turning green, or suddenly looking sad and droopy? Well, you’re not alone. Crotons (Codiaeum variegatum) are some of the most colourful houseplants you can grow, but honestly, they can also be some of the most dramatic. And trust me, I learned this the hard way.
A few years ago, I had a healthy, beautiful Croton. After I moved it to another room, it started dropping leaves, one by one, every single day, until it was completely bare. By the time I realised what was happening, it was too late to save it. Looking back, it happened because of a few simple care mistakes I didn’t recognise soon enough.
So below I’ll show you the five biggest mistakes people make with Croton plant care, and exactly how to fix each one, so your plant stays lush, vibrant and full of colour.
Prefer to watch? Here is my video with all 5 mistakes:

Click here to watch the video on YouTube
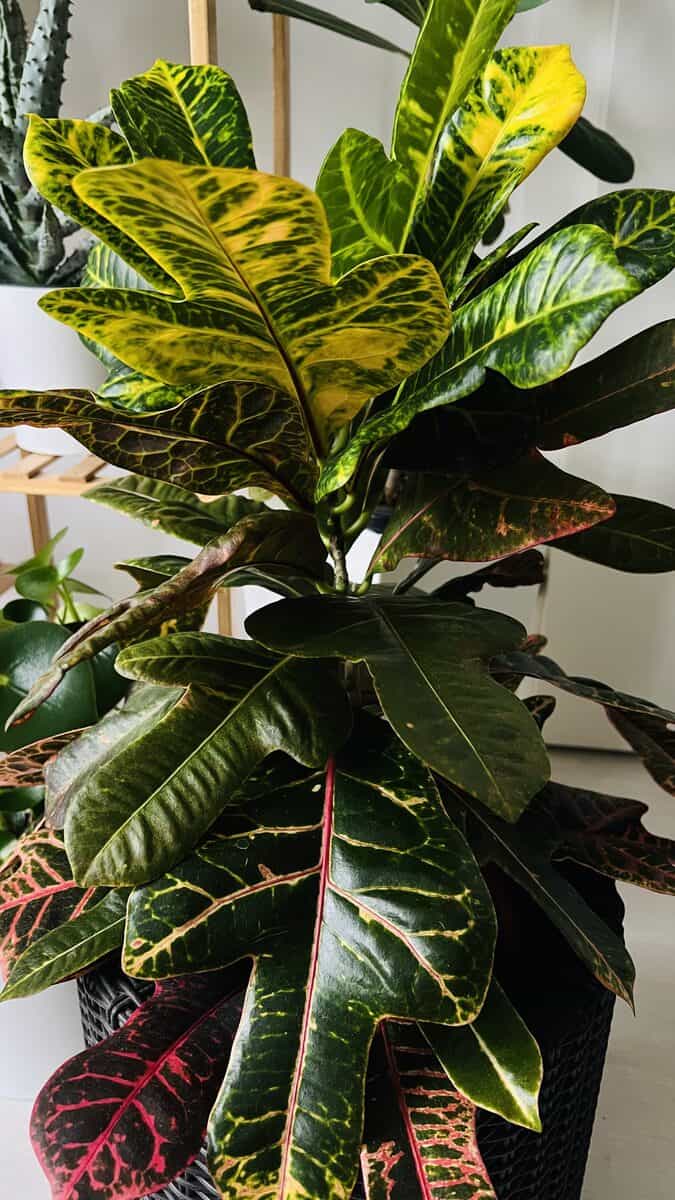
| Need | What it likes |
|---|---|
| Light | Lots of bright light, including some direct sun, for the best colour |
| Water | When the top inch of soil dries, keep evenly moist not soggy |
| Humidity | High, ideally 60 percent or more |
| Temperature | Warm and stable, 18 to 27 C, never below 15 C |
| Soil | Well-draining houseplant mix with some perlite or orchid bark |
| Feeding | Balanced fertilizer every 2 to 4 weeks in spring and summer |
| Toxicity | Toxic if eaten and the sap can irritate, keep away from pets |
Mistake #1: Not Enough Light
If your Croton is losing its colour, turning greener or starting to look dull, it probably isn’t getting enough light.
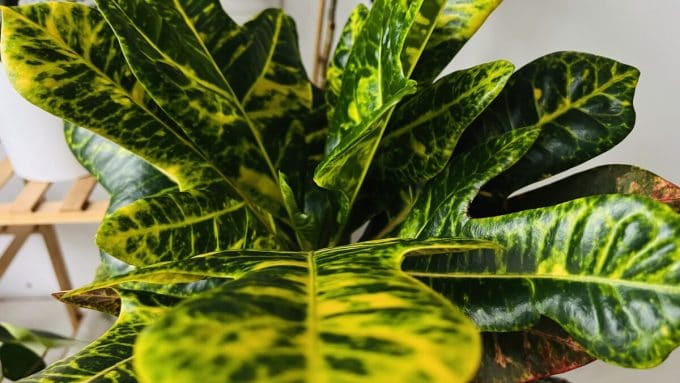
Many people buy a Croton because it looks bold and tropical, then bring it home, treat it like an ordinary houseplant and place it too far from a window. Crotons don’t do well in that kind of light. They need plenty of bright light, and some direct sun, to keep their vibrant colours. When the light is too weak, new leaves gradually come out greener and less colourful.
I keep mine a few feet from a southwest-facing window, where she gets afternoon sun. In summer, when the sun is much stronger, I move her a little farther back, so she still gets some direct light, but from a safer distance.
Another sign of too little light is leggy growth: the plant stretches toward the window, with longer stems and bigger gaps between the leaves. New leaves can come out smaller, and eventually the lower leaves may drop. What makes this tricky is that it doesn’t happen overnight. Your Croton can look fine for weeks while slowly getting weaker, and then one day you notice it has lost much of its colour and fullness.
The fix: place it near a bright south, west or southwest-facing window where it gets strong light for most of the day, and keep an eye on it during the hottest hours. If your home is dark, especially in winter, a grow light really helps. But if your Croton has been in low light for a long time, don’t move it straight into intense sun, or the leaves may get pale, dry or brown burn spots. Move it closer to the window in stages over one to two weeks.
Once the light is right, new growth should come out healthier and more colourful. Leaves that have already turned green may not get all their colour back, so look for the improvement in the new leaves.
Mistake #2: Sudden Changes and Temperature Stress
The second mistake is changing your Croton’s environment too suddenly. This is exactly what happened to the Croton I told you about. It was healthy in its usual spot, but after I moved it to another room, it began dropping leaves, one by one, until it was completely bare. I thought the new spot would be fine, but the light and temperature were different, and the plant reacted strongly to that change.
Crotons are tropical plants that love a warm, stable environment. Once they get used to a certain level of light, temperature and humidity, a big change stresses them, and sudden leaf drop is often the first sign. Cold drafts can cause the same reaction, especially in winter.
Crotons grow best between 65 and 80°F (18 to 27°C). Try not to let the temperature fall below 60°F (15°C), and protect the plant from sudden blasts of cold or hot air.
The fix: once you find a bright, warm spot where your Croton is growing well, keep its conditions as stable as possible. You can still rotate the pot now and then for even growth, just avoid moving it between places with very different light or temperatures. If you have to move it, choose a spot similar to the old one and give it time to adjust. A little leaf drop after a move can be a normal stress response, so don’t assume it needs more water. Keep its care consistent, and if the roots and stems are healthy, the leaf drop should slow down and new growth can appear.
Mistake #3: Underwatering and Inconsistent Watering
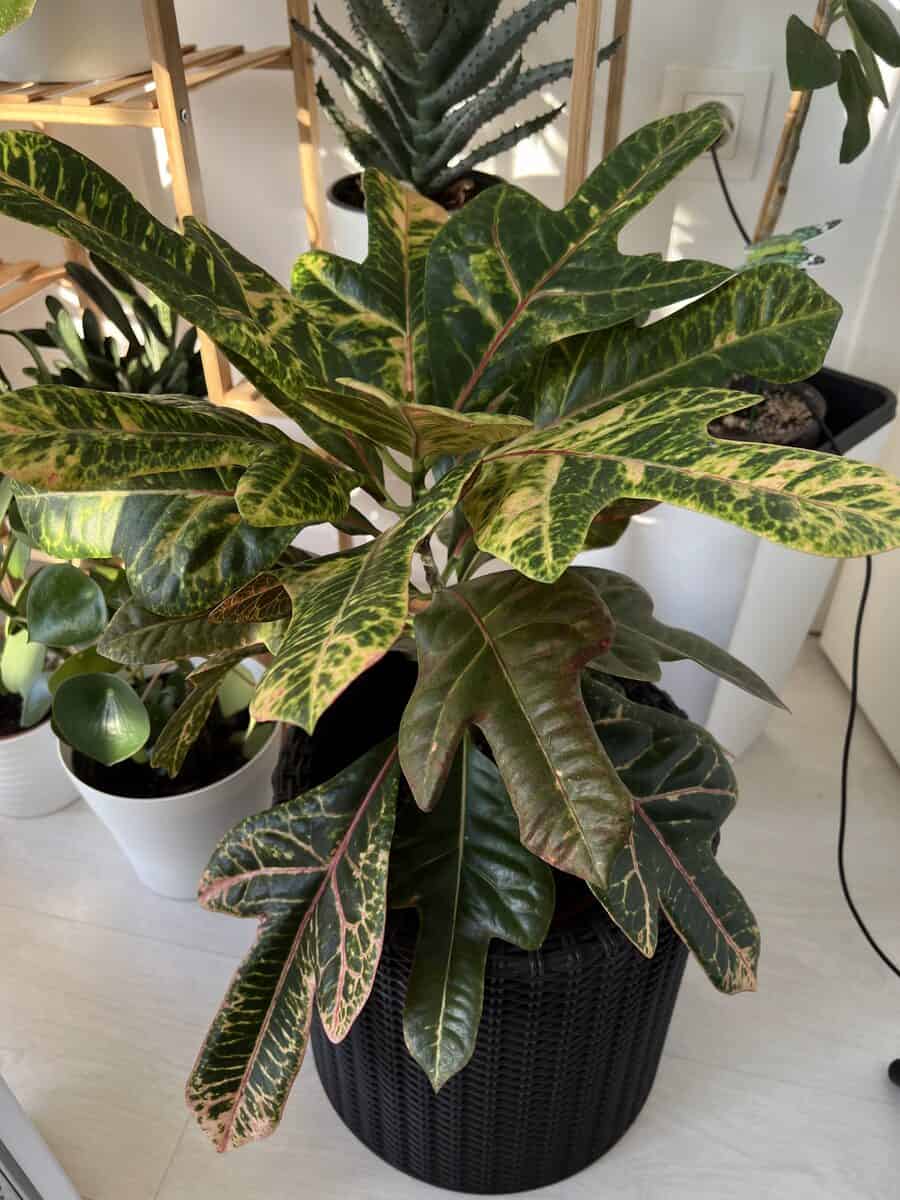
The third mistake is letting your Croton get too dry, or watering it on and off. Crotons like their soil lightly and evenly moist. That doesn’t mean constantly wet, but the whole root ball shouldn’t become bone dry either.
When a Croton needs water, one of the first signs is that the leaves start to hang down. They lose their usual firmness and feel softer than normal. If the soil stays dry for too long, the leaf edges turn brown and crispy, and some lower leaves may fall.
The way I water mine is simple. I check the soil with my finger, and when the top inch (about 2 to 3 cm) feels dry, I water thoroughly until water drains from the bottom of the pot. In summer, when she is actively growing, I check more often. In winter the soil dries more slowly, so I naturally water less.
About once a month, I also take my Croton to the shower. I use lukewarm water to rinse the dust off the leaves and give the soil a good, even watering, then let all the excess drain before she goes back to her spot.
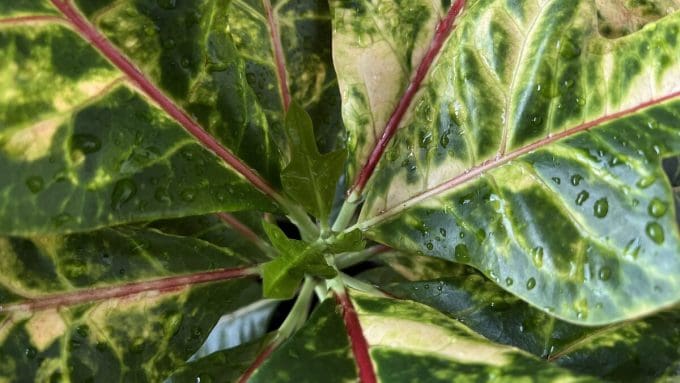
If the soil gets extremely dry, water can run down the sides of the pot without soaking the root ball. In that case, water slowly in two rounds, or stand the pot in a shallow container of water for 10 to 15 minutes so it can soak up moisture from the bottom.
The fix: with Crotons, consistency matters more than a fixed schedule. Check the soil regularly, water the whole root ball, and never leave the pot sitting in water. For more, see my Houseplants Watering Tips.
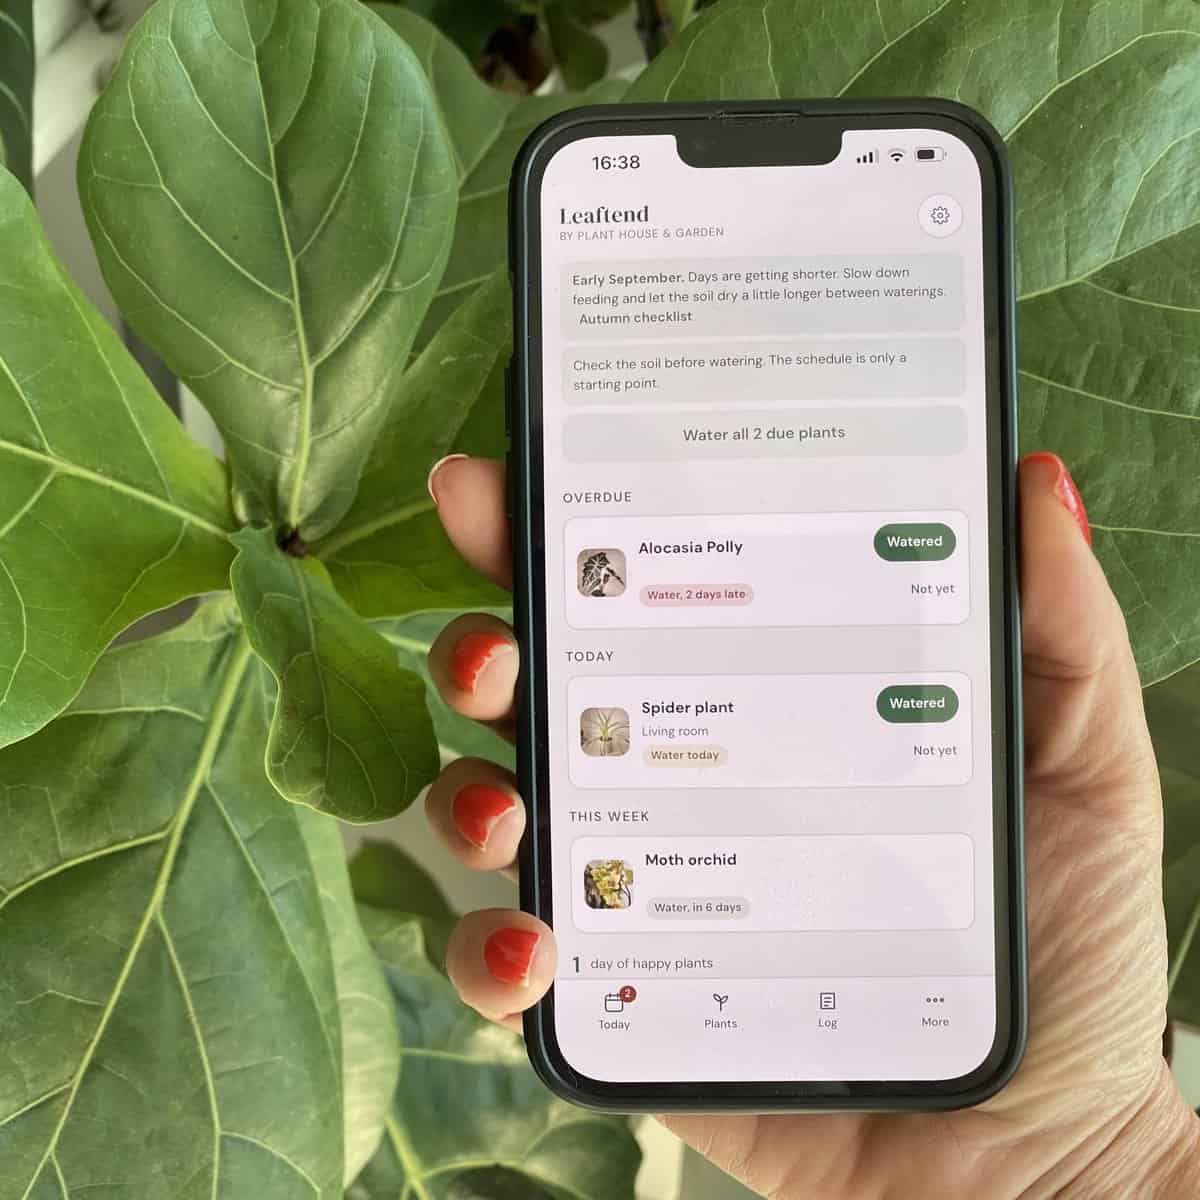
And honestly, this is one of the reasons I created my plant care app, Leaftend. It helps me keep track of when I last cared for each plant and what needs attention next, and it is free for your first three plants.
Mistake #4: Dry Air, Spider Mites and Mealybugs
If the edges of your Croton’s leaves are turning brown and crispy, or you notice tiny bugs on the foliage, the problem may be dry air, pests, or both.
Crotons come from warm, humid tropical places, so the dry air in our homes, especially in winter when the heating is on, can make the leaf edges brown and crispy. Warm, dry conditions are also perfect for spider mites.
- Spider mites are extremely small, but you may notice fine webbing between the leaves and stems, and tiny pale dots that make the leaves look faded or speckled. Here is how to get rid of spider mites.
- Mealybugs look like small white, cottony spots and usually hide under the leaves, inside new growth, or where the leaves meet the stem. Here is how to get rid of mealybugs on houseplants.
I’ve actually dealt with both pests on this Croton at the same time: mealybugs hiding between the leaves, and spider mites with their fine webbing. I treated her with 70% rubbing alcohol over three days in a row, and it cleared both infestations without visibly damaging the plant. But alcohol can damage sensitive leaves, so I tested it carefully first and kept the treated plant out of direct sun. You can see the whole treatment, step by step, in my post 70% Alcohol on Houseplants to Kill Pests? I Tested This Method.
The fix: catch it early. Inspect your Croton regularly, especially under the leaves, around the stems and inside new growth, and isolate it from your other plants as soon as you see pests. To prevent problems, keep it away from heaters and radiators, and if your air is very dry, a humidifier nearby helps. Aim for humidity of around 60 percent or more. You can read more in Humidity and Temperature for Houseplants.
Mistake #5: Overwatering and Poor Drainage
The final mistake is one of the most common, and unfortunately one of the most serious, because it can actually kill your Croton: overwatering combined with poor drainage.
This may sound confusing after I told you not to let your Croton dry out. But there is a big difference between soil that is lightly moist and soil that stays wet and waterlogged. Crotons are perfectly happy with the first, but they really suffer with the second.
When the soil stays wet too long, the roots lose oxygen and can begin to rot. Damaged roots can’t absorb water properly, so the plant wilts. That is what makes root rot so easy to misdiagnose: the leaves droop, turn yellow and fall, just like when the plant is thirsty. So always check the soil first. If the leaves are drooping but the soil is still wet, don’t add more water.
Overwatering usually happens when the plant is watered too often, the pot has no drainage holes, or water collects inside a decorative pot. A pot that is too big can also keep the roots wet for too long. Warning signs are soil that stays wet for many days, several yellowing lower leaves, a soft or darkened stem near the base, and an unpleasant smell from the soil.
The fix: always use a pot with drainage holes and empty any water in the saucer or decorative pot. I use a well-draining houseplant mix with some perlite or orchid bark added, so the soil holds enough moisture without keeping the roots wet.
And if your Croton already has root rot, don’t give up on her. Take her out of the pot and check the roots. Healthy roots feel firm, while rotting roots are dark, soft or mushy and may smell bad. Trim away the damaged roots with clean scissors, remove the old wet soil, and repot in fresh, well-draining mix in a clean pot with drainage holes. Keep her warm, stable and in bright, indirect light while she recovers, skip fertilizer, and be extra careful not to overwater again. My step-by-step guide on how to fix root rot walks you through it.
More Croton Care Tips
Feeding
Crotons are hungry plants. In spring and summer, feed with a balanced liquid fertilizer every 2 to 4 weeks, following the dilution on the label, and cut back in autumn and winter when growth slows. Too much fertilizer can burn the roots, so don’t overdo it. If you prefer natural options, try my Homemade Organic Fertilizer Recipe for Houseplants.
Pruning
Crotons can get tall and leggy over time, so don’t be afraid to prune them back in spring. Cutting stems encourages the plant to branch out and become bushier. Use sharp, clean scissors and wear gloves, because the sap can irritate skin.
Repotting
Crotons like being a little snug, so repot only every 2 to 3 years, when roots circle the surface or poke through the drainage holes. Choose a pot just one size bigger, with drainage holes, and expect a little leaf drop while the plant adjusts.
Propagating
Take a 4 to 6 inch (10 to 15 cm) stem cutting with at least three healthy leaves, dip the end in rooting hormone if you have it, and place it in water or moist soil in a warm, bright spot out of direct sun. Covering it with a clear bag keeps the humidity high. Rooting can take several weeks.
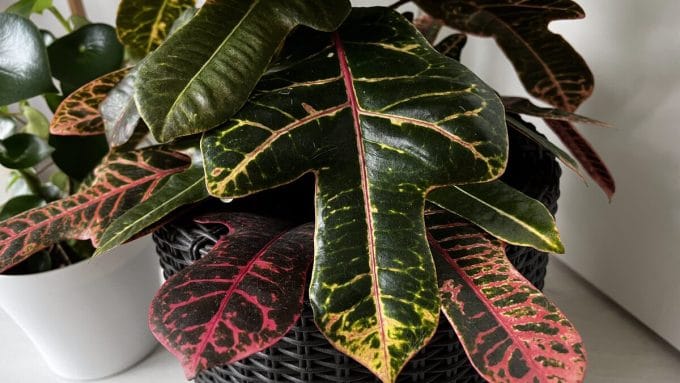

Are Crotons Pet Safe?
Crotons are toxic to pets if eaten, so keep them out of reach of cats and dogs. The sap can also irritate skin, so wear gloves when pruning or propagating. If you’re looking for safer alternatives, check out my guide to Pet-Friendly Houseplants.
Crotons reward consistency more than almost any houseplant, so a simple routine helps. My Plant Care Journal makes it easy to track watering, light and humidity, so your Croton keeps its bold colour.
Frequently Asked Questions
Why is my Croton dropping leaves?
Leaf drop is usually caused by a sudden change such as a new spot, a draft, or a shift in watering. Crotons dislike change. Keep yours in one warm, bright, draft-free place with steady watering, and the dropping should settle as it adjusts.
Why is my Croton losing its colour?
Faded or greener leaves almost always mean not enough light. Crotons need plenty of bright light, including some direct sun, to keep their bold colours. Move it somewhere brighter and the new growth should come back more vivid.
How often should I water a Croton?
Water when the top inch of soil feels dry, keeping the soil evenly moist but never waterlogged. This is often about once or twice a week in the growing season and less in winter. Crotons like consistent moisture and good drainage.
Why does my Croton have brown, crispy leaf edges?
Brown, crispy edges usually mean the air is too dry or the plant is underwatered. Raise the humidity with a tray, grouping, or humidifier, and keep watering consistent. Crotons are humidity lovers and show stress quickly when the air is dry.
Is Croton toxic to pets?
Yes. Croton sap is toxic if chewed or eaten and can irritate the skin and mouth. Keep it away from curious pets and children, and wash your hands after pruning, since the milky sap can cause irritation.
Can a Croton recover after dropping all its leaves?
Sometimes, yes. Gently scratch a stem with your fingernail: if it is green and firm underneath and the roots are healthy, keep the plant in a bright, warm, stable spot, water only when the top inch is dry, and be patient while new growth appears. If the stems are soft and the roots are mushy, it is usually too late, which is exactly what happened to my first Croton.
Final Thoughts
Crotons may have a reputation for being dramatic, but once you understand what they need, Croton plant care becomes much easier. Give your plant plenty of light, keep its environment warm and stable, water it consistently without leaving the roots wet, and check the leaves regularly for pests.
And remember, if your Croton suddenly starts dropping leaves, don’t panic. Check what has changed: the light, the temperature, the soil, or simply its location.
If you’ve ever had problems with a Croton, tell me in the comments what happened and whether you were able to save it. And if this guide helped, I would love for you to subscribe to my YouTube channel for more honest, practical houseplant care. Thank you so much for reading, and happy growing!
Related Topics
- Anthurium Laceleaf Care Guide
- Rubber Tree (Ficus Elastica) Plant Care
- Ponytail Palm Problems: 5 Mistakes to Avoid + Care Tips
- How to Water Houseplants Properly
- Pet-Friendly Houseplants

Written by Bojana
Plant lover, grower, and music maker behind Plant House & Garden, with 35+ years of hands-on houseplant experience. Read more about Bojana →