How to Grow a Chestnut Tree from Seed (Step-by-Step Guide)
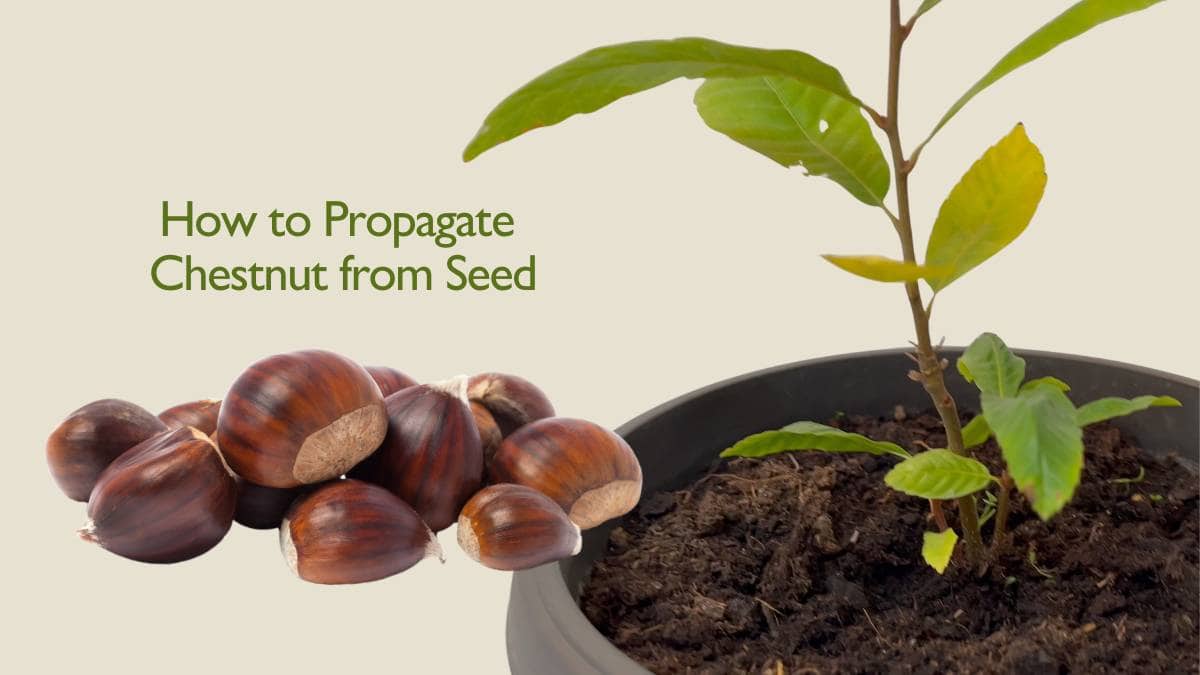
Growing a chestnut tree from seed is a rewarding journey that requires patience, the right conditions, and a bit of care. Whether you have fresh chestnuts collected in autumn or seeds purchased from a nursery, you can successfully turn them into healthy trees that will thrive for decades. By following this guide, you’ll see how easy it is to start a chestnut tree from seed at home.
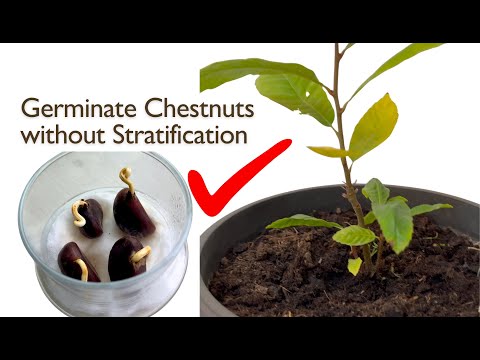
👉 For visuals, watch my new video below where I show the complete process step by step:
| Stage | What happens | Rough timing |
|---|---|---|
| Choosing nuts | Pick fresh, firm chestnuts that sink in water | Autumn |
| Germination | A root emerges from the nut in a moist medium | 2 to 6 weeks |
| Early growth | A shoot and first leaves appear | 4 to 10 weeks |
| Potting on | Move the seedling into soil and bright light | After roots establish |
| Planting out | Transplant the young tree outdoors | The following spring |
My Experiment: Germination Without Cold Stratification
Most guides will tell you that chestnuts need cold stratification - a chilling period of several weeks in the fridge - before they can sprout. I wanted to see if I could skip that step and still achieve successful germination.
So, instead of stratifying, I placed the chestnuts directly in a moist cotton setup inside a container. To my surprise, it worked! Within about ten days, the first root started to emerge.
This shows that, under the right warm and moist conditions, chestnuts can germinate without cold stratification. While stratification often increases success rates, this experiment proves it isn’t always necessary.
If you’re eager to try growing chestnuts at home, you can experiment both ways - either with cold stratification for a higher germination percentage, or without it, as I did, for a faster and simpler approach.
Why Grow Chestnut Tree from Seed?
Chestnuts are not only delicious but also bring shade, beauty, and biodiversity to your garden. By growing your own tree from seed, you ensure it adapts perfectly to your environment, creating a stronger and more resilient plant. Unlike buying a young tree, starting from seed lets you experience the entire process, from tiny sprout to a mature chestnut tree from seed.
Step 1: Choosing Healthy Chestnuts
To begin, always start with fresh, healthy chestnuts. You can either collect them during autumn or buy seeds from a reputable nursery. Avoid dried, damaged, or moldy chestnuts, as they won’t germinate properly.
The Floating Test
Before planting, perform a simple floating test:
- Place your chestnuts in a bowl of water.
- Seeds that sink are healthy and suitable for germination.
- Seeds that float are likely dried out or damaged - discard these.
This step ensures you work only with the strongest seeds.

Step 2: Preparing Chestnuts for Germination
Once you’ve selected your healthy seeds, it’s time to prepare them for sprouting.
- Take a transparent container with a lid.
- Add a layer of cotton at the bottom. Cotton helps retain moisture and prevents mold.
- Spray the cotton lightly with water.
- Place the chestnut on top of the damp cotton and spray it again.
- Close the container and place it in a warm, indirect light location. Avoid direct sunlight, which can dry out or overheat the seed.
This preparation stage is crucial when you want your chestnut tree from seed to sprout strong and healthy.
💡 Tip: Check daily to ensure the cotton stays moist. Never allow it to dry out completely.
Step 3: Sprouting and Early Growth
After about 10 days, you should see the first signs of germination. A small root will begin to emerge, followed by a sprout. At this stage, you can either:
- Leave the seed a few more days to strengthen, or
- Transfer it into soil for continued growth.
Patience is key - the germination process can vary depending on temperature and seed quality. Watching the first root appear is the most exciting part of growing a chestnut tree from seed.
Step 4: Planting in Soil
When the root system begins to develop, it’s time to move the chestnut into soil.
- Prepare a pot with well-draining potting mix.
- Plant the seed about one inch deep.
- Water thoroughly after planting.
- Place the pot in a warm, sunny location.
From now on, water the plant when the top two layers of soil feel dry. Overwatering can cause root rot, so always check the soil before adding more water. When transferring your chestnut tree from seed into soil, make sure to use a well-draining mix.
Step 5: Long-Term Chestnut Care
Chestnuts grow relatively quickly. After about six months, you should have a small but strong sapling. With proper care, your tree will continue to thrive.
- Best planting time outdoors: February-March.
- Choose a sunny spot in your garden with deep soil.
- Space your chestnut tree away from other large trees, as it will need room to grow.
- Water regularly during the first few years until the tree is well established.
With time and care, your chestnut tree can grow into a tall, majestic tree that provides shade, beauty, and tasty nuts. After six months, your chestnut tree from seed will already look like a small sapling.
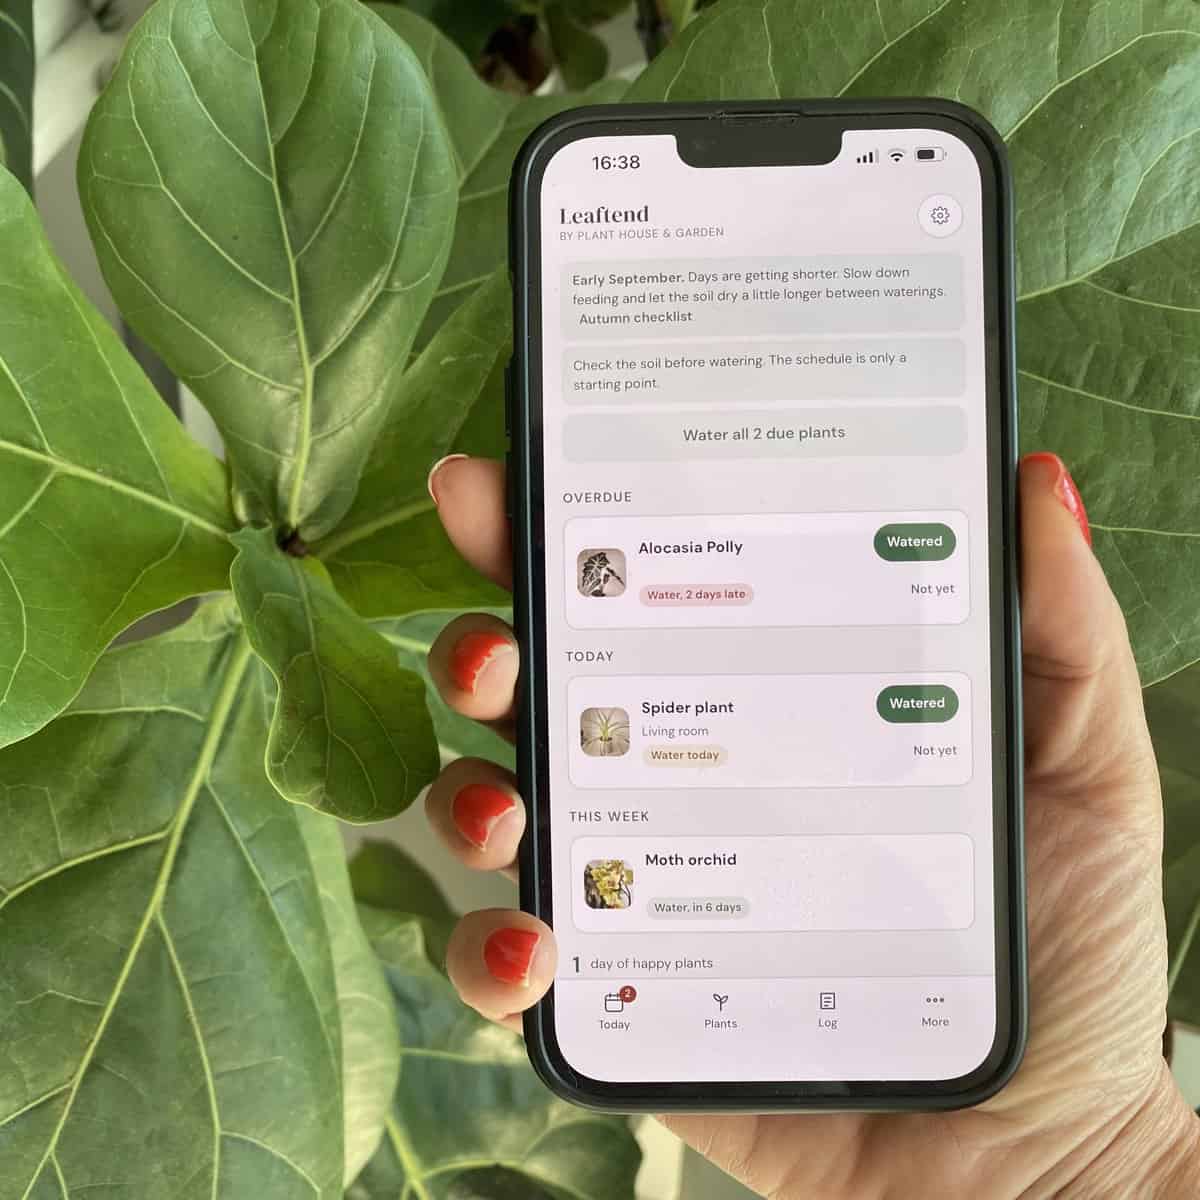
Growing a tree from a nut is a long, rewarding project, so it helps to track it. My Plant Care Journal is handy for noting when each chestnut sprouted and how your seedlings are coming along over the months.
Enjoy growing trees from seed? You might also like my step by step guide on how to plant an oak tree from an acorn.
Frequently Asked Questions
Can you grow a chestnut tree from a chestnut?
Yes. A fresh, healthy chestnut can be sprouted and grown into a tree. Choose firm nuts that sink in water, keep them in a moist medium until a root appears, then pot the seedling on. It takes patience, but a single chestnut really can become a full tree.
Do chestnut seeds need cold stratification?
Many chestnuts germinate best after a cold, moist period that mimics winter, which is called cold stratification. However, as shown in this guide, you can also sprout them in a warm, moist medium without it. Results vary, so trying a few nuts improves your chances.
How long does it take for a chestnut to germinate?
A chestnut usually puts out a root within about two to six weeks in a warm, moist medium, with a shoot following soon after. The exact timing depends on freshness, temperature, and whether the nut was chilled first.
How do you know if a chestnut is good for planting?
Use fresh chestnuts and do a float test: drop them in water and keep the ones that sink, since floaters are often dried out or hollow. The best nuts are firm, heavy, and free of holes, mold, or cracks.
When should I plant my chestnut seedling outside?
Grow the seedling on in a pot until it is sturdy, then plant it outside in spring, usually around February to March, once hard frosts have passed. Choose a sunny, open spot with room for the tree to spread as it matures.
Final Thoughts on Chestnut Tree from Seed
Growing a chestnut tree from seed is a simple but rewarding process. From testing your seeds to sprouting, planting, and long-term care, each step brings you closer to having your own tree. With patience and consistency, you’ll enjoy the results for decades. With patience, anyone can grow a chestnut tree from seed and enjoy the results for years to come.”
Below is my first video - same process:

(I want to apologize - this was one of my first videos on my channel, so the background music is a bit loud. Thank you for understanding!)
🌳 If you are interested in similar projects, you can also watch my video on How to Propagate an Oak Tree from Acorn (Seed). It’s closely related and perfect for anyone who loves growing trees from scratch.
Topics you might love:
- Houseplants Watering Tips
- Top 10 Fall Balcony Plants
- How to Get Rid of Fungus Gnats in Houseplants Permanently
- Music for Plants

Want to multiply more of your plants? This guide is part of my complete houseplant propagation guide, where every method is explained in one place.

Written by Bojana
Plant lover, grower, and music maker behind Plant House & Garden, with 35+ years of hands-on houseplant experience. Read more about Bojana →