Philodendron Birkin Propagation: Multiply Your Birkin - Full Steps Guide
Part of my complete Philodendron Care Guide: light, water, problems, every variety, and propagation in one place.
Philodendron Birkin propagation is easier than you think and in this step-by-step guide, I’ll show you how to do it using two simple methods: stem cuttings and division. These are the exact techniques I use in my own plant collection, and by following them, you can multiply your Birkin and grow healthy new plants with confidence. the exact techniques I use in my own plant collection.
By the end, you’ll know how to multiply your Birkin and potentially turn one plant into four!
👉 Prefer visuals? Watch the full propagation process in the embedded video below.

Click here to watch this video on YouTube
A Quick Look at the Philodendron Birkin
Before we dive into Philodendron Birkin propagation, let’s take a quick look at this stunning plant.
Philodendron Birkin is a man-made cultivar (not found in the wild), originally developed through selective breeding in Thailand. It belongs to the tropical Philodendron genus native to Central and South America.
It’s known for:
- Dark green, glossy oval leaves
- Striking white or cream pinstripes
- Compact growth habit, perfect for indoor spaces
Its eye-catching variegation can vary widely from leaf to leaf - no two Birkins are exactly the same!
If you're new to this plant, I recommend starting with my full care guide first:
👉 How to Care for Philodendron Birkin - Complete Guide from Real Experience
It covers everything from lighting and watering to repotting and troubleshooting common problems, helping your Birkin thrive before you even think about propagation.
My Plant’s Situation - Why I Decided to Propagate
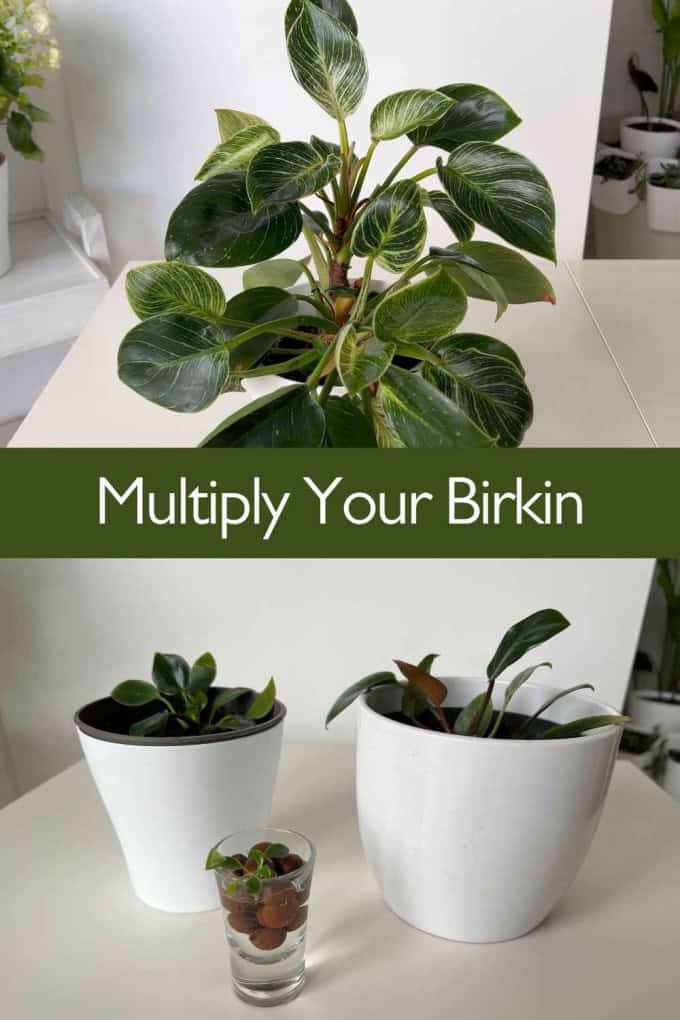
The Philodendron Birkin I’m working with had two main stems and three smaller ones. The main stems were weakening at the root, so I chose to separate the smaller ones for propagation. Then I stabilized the main stems by adding soil and tying them together to encourage upright growth.
This process gave me the perfect opportunity to demonstrate Philodendron Birkin propagation using both division and water methods.
Two Easy Methods of Philodendron Birkin Propagation
1. Propagation by Division
If your Birkin has multiple stems, this is the easiest and cleanest method.
✅ Steps:
- Gently pull apart stems that have their own root systems
- Use clean scissors to cut if roots are too tight
- Plant each divided stem in its own pot with fresh soil
- Water thoroughly and place in bright, indirect light
I used this method as part of my Philodendron Birkin propagation process to separate two healthy stems that had developed enough roots for independent growth.
2. Water Propagation from Stem Cuttings
This method works great if your stem has no roots yet.
✅ Steps:
- Take a cutting with at least one node and one or two leaves
- Remove dried leaves and roots
- Place in a clean container of water
- Add optional LECA for stability
- Keep in bright, indirect light and monitor root growth
In my case, one of the smaller stems was very young and had minimal roots, so I chose to propagate it in water.
Supplies You’ll Need for Philodendron Birkin Propagation
To successfully propagate Philodendron Birkin, gather the following:
- Clean, sterilized scissors
- Rubbing alcohol
- Rooting hormone (optional but recommended)
- Clear water container (for water propagation)
- Pots with drainage holes
- Well-draining aroid soil mix
- LECA balls (optional)
- Fresh water for watering after potting
Sterilizing your tools is a crucial step in Philodendron Birkin propagation, as it helps prevent the spread of bacteria or disease during cutting.
Rooting & Potting the New Plants
Once cuttings or divisions are ready:
- Apply rooting hormone to stimulate strong growth
- Place each cutting in well-draining soil or water
- Press soil gently around the stem and water thoroughly
- Let pots drain completely and place in a stable, warm spot
💡 Note: Rooting hormone is optional, but it helps speed up root development.
Caring for Plants After Philodendron Birkin Propagation
After propagation, here’s how to support your new plants:
- Water thoroughly, but wait until the top inch of soil dries before watering again
- Never let the pots sit in standing water - this leads to root rot
- Keep them in bright, indirect light and avoid harsh sun
- Maintain moderate humidity - I use a small humidifier for consistency
Remember, underwatering is better than overwatering for Birkins, especially in their early stages.
What If You Only Have One Stem?
Not all Birkins have multiple stems ready for division. If that’s your case:
- Take a stem cutting with at least one node
- Follow the water propagation method
- Be patient, root development takes a few weeks
Even a single healthy stem can turn into a brand-new plant with the right care.
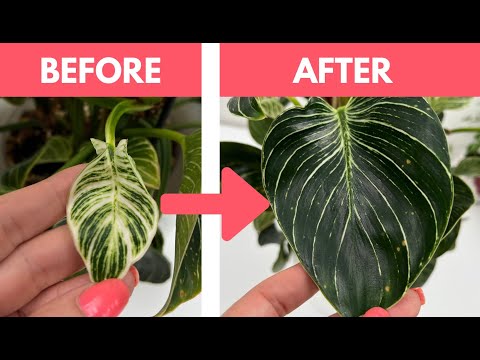
Want Bigger Leaves on Your Birkin?
Philodendron Birkin propagation is only the beginning. If you want to take your plant to the next level, check out my video on how to encourage bigger, fuller leaves. These are simple techniques I’ve tested myself - and they really work!
👉 Watch the video below:
“3 Simple Tips to Grow Bigger Leaves on Your Philodendron Birkin” or read the article here.
I recommend watching it right after your new plants settle in.
Watch the Full Propagation Video
🎥 Want to see exactly how I did it?
In my video, I demonstrate step-by-step Philodendron Birkin propagation, show root inspection, soil prep, and the final planting.
👉 Watch below and feel free to leave questions or share your own results in the comments!
Related Articles
- Philodendron Birkin Problems: 5 Common Mistakes to Avoid
- Philodendron Birkin Bigger Leaves: 3 Easy Ways to Boost Leaf Size Naturally
- How to Care for Philodendron Birkin - Complete Guide from Real Experience
- Philodendron Leaves Turning Brown? Causes, Fixes & How to Stop It
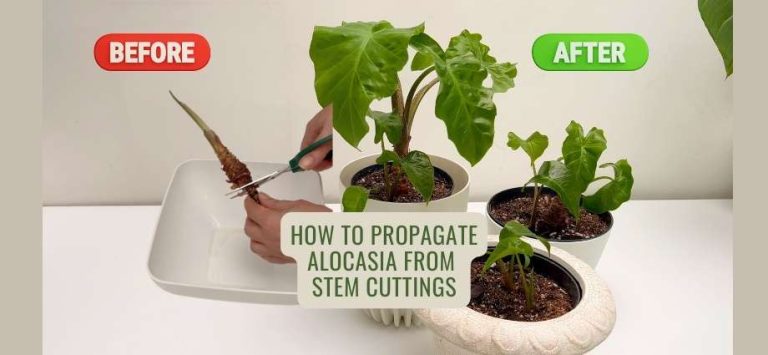
Want to multiply more of your plants? This guide is part of my complete houseplant propagation guide, where every method is explained in one place.

Written by Bojana
Plant lover, grower, and music maker behind Plant House & Garden, with 35+ years of hands-on houseplant experience. Read more about Bojana →